See Inside an NES Controller: A Detailed Teardown with Pictures
Retro gaming is all the rage these days. I got into video games in the early 90s. My earliest memories of gaming are Super Mario Bros. 3 on NES, and Super Mario Land on Game Boy. I had an SNES in the 90s, but never my own NES. I bought a Japanese Famicom a few months back to play the original SMB3. It’s not that much different, but I’m kind of obsessed with the game and needed to play it as originally intended.
Anyways, the Japanese Famicom toploader has the same controller ports as the lunchbox NES you’re probably used to. The controllers that came with it (NES-039) have an awkward angling of the A and B buttons, so I decided to just order some standard USA-type NES controllers.
They were about $20 on eBay and are specifically the NES-004 model which is a later revision with a nice long cable. Sitting on the floor was fine when I was 6.
They were still in pretty good condition cosmetically, but the buttons just felt mushy. I’m used to fresh NES Classic controllers, so I poked around online to see what I could do.
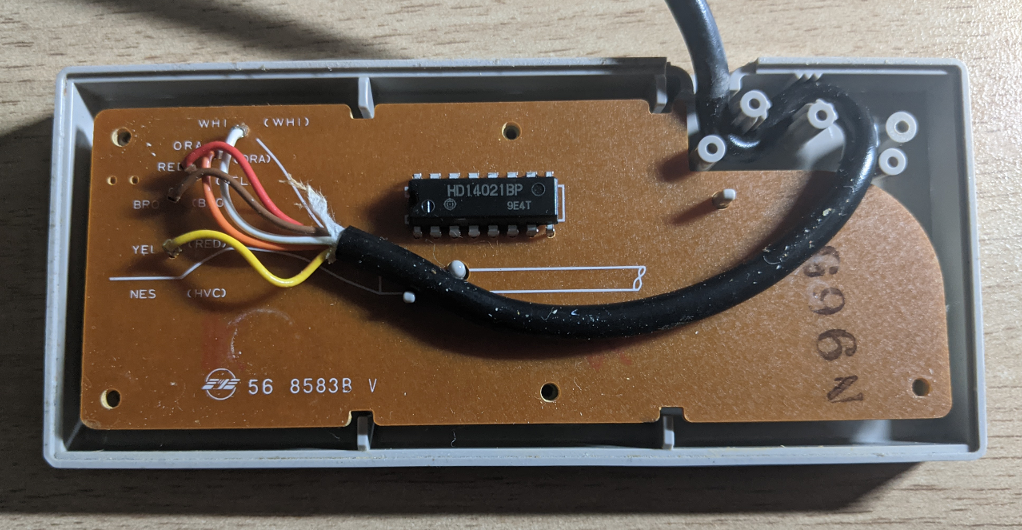
Turns out that the plastic buttons you see rest on a rubber membrane. When you push the button, it pushes the membrane down on a circuit board and shorts a circuit. This changes a bit in the shift register (the only component on the circuit board), which shifts a bit in the NES memory.
Over time, these rubber buttons lose their spring. There are a lot of options for reproduction NES buttons online. I’m not going to provide a link here because I don’t care to endorse a particular seller. I paid about USD $3 for mine. Reviews seem to indicate there are better options, but those are pricey and I figured if these sucked I could always try the pricier ones.
Teardown
Tearing this thing down couldn’t be simpler. The screws are pretty long, so you will have to do some turning. The screws on mine are all the same length.
- Turn the controller over, put it buttons-down on something soft.
- With a small cross-head screwdriver, carefully remove the 6 screws on the back.
- Carefully pull up on the rear shell, loosening screws again if necessary.
- Carefully fish the main wire out of the holder so you can pull the board out.
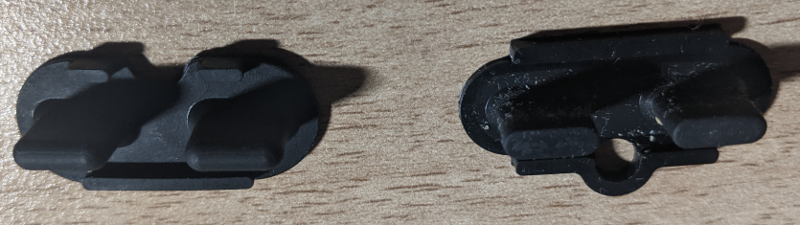
- Pull out the rubber pieces and replace as necessary.
Putting It Back Together
Like most DIY stuff, putting it back together is actually the hardest part.
- Put the front shell face down on a soft surface on a desk.
- Put the buttons in.
- Put the pads in.
- Put the circuit board down on top. Make sure to line up the holes in the board with the guide posts coming up from the front shell, and the ridges on the edges.
- Feed the wire back in the holder (reference photo below).
- Put the rear shell on.
- Work the shell down, ensuring the circuit board is properly sitting, and that the cable on the board is not wedged in between one of the cylinders on the rear shell. The cable should run tangent to the circle of the cylinder. Don’t press the buttons while doing this, to make it easier to get the shells together.
- Put the screws back in.
Reassembly Tips
- The new rubber is possibly thicker. If you have the controller face down with the buttons depressed, you’ll have a hard time getting the screws in.
- I recommend putting the controller face-down at the edge of a desk, with the buttons hanging off the edge so as not depressed. This will give you enough leverage to push the top down, while not working against yourself with the buttons.
- Put the screws in slowly so you don’t strip the plastic.
- Reference the images below if you forgot how anything is supposed to go.
NES Controller Teardown Photos
Click a picture to see a larger version.
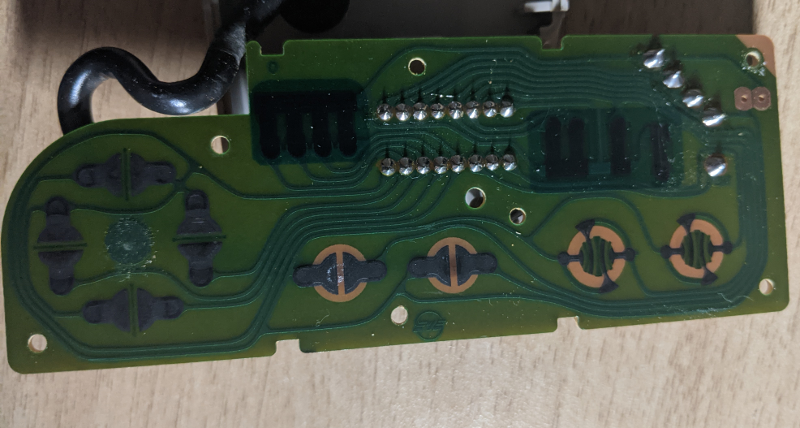
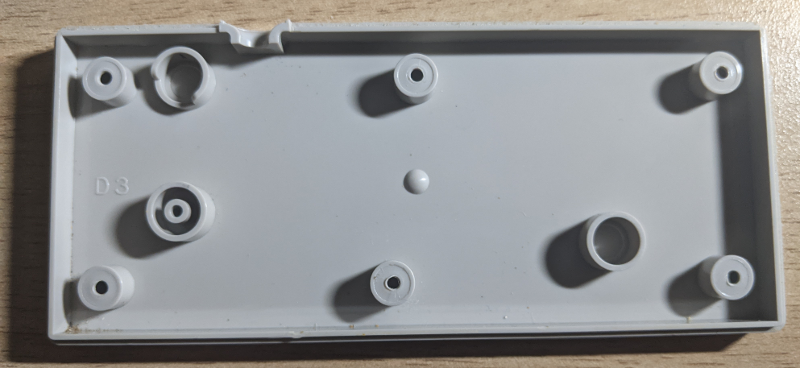
Circuit Board
Front
Rear
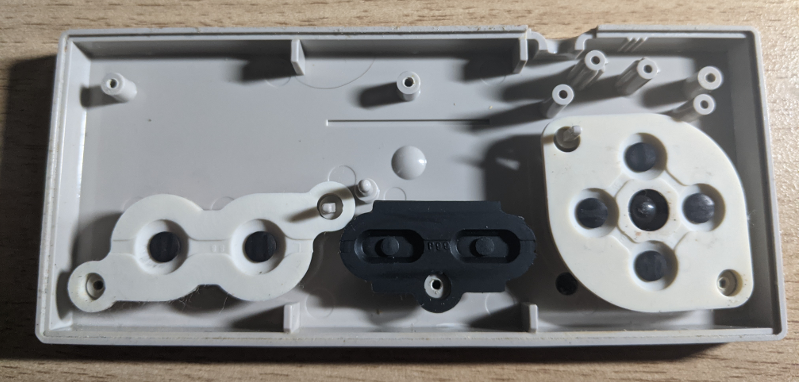
Shell
Front w/ Old Pads
Front w/ Buttons
(the Start and Select buttons are just parts of the pad, all rubber. I kept the original ones because the reproductions weren’t the same shape, and I don’t hit these buttons enough to care if they’re mushy.) 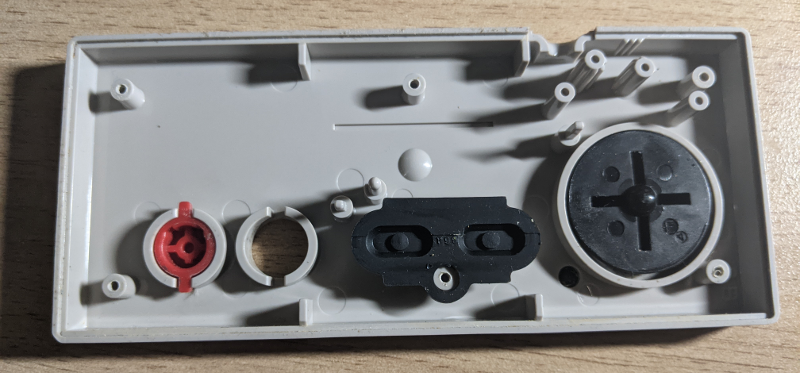
Rear
Buttons
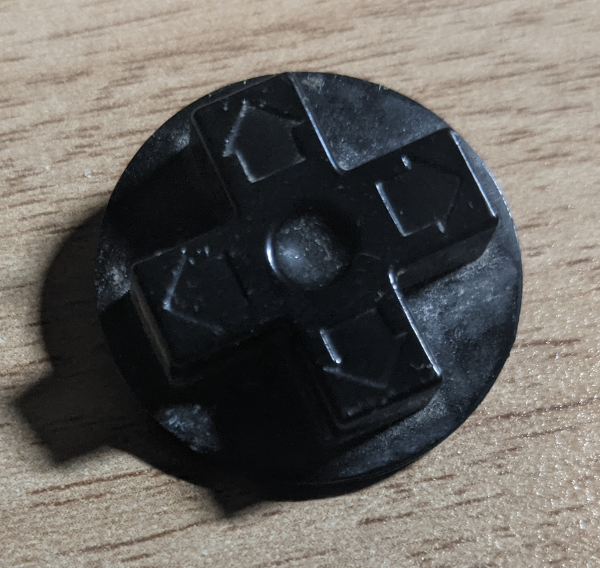
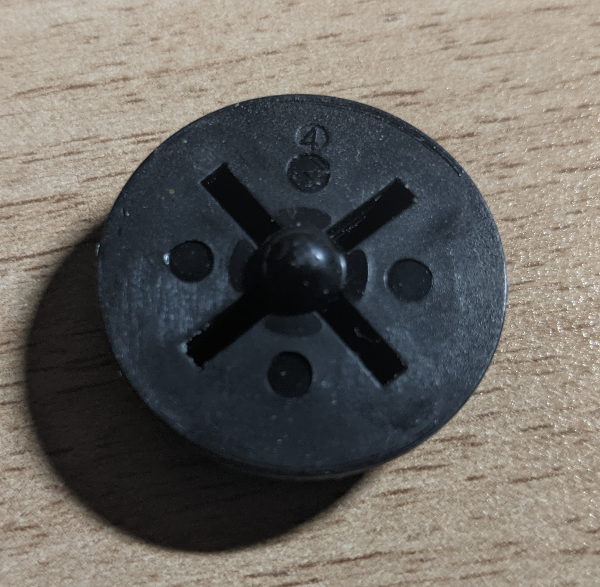
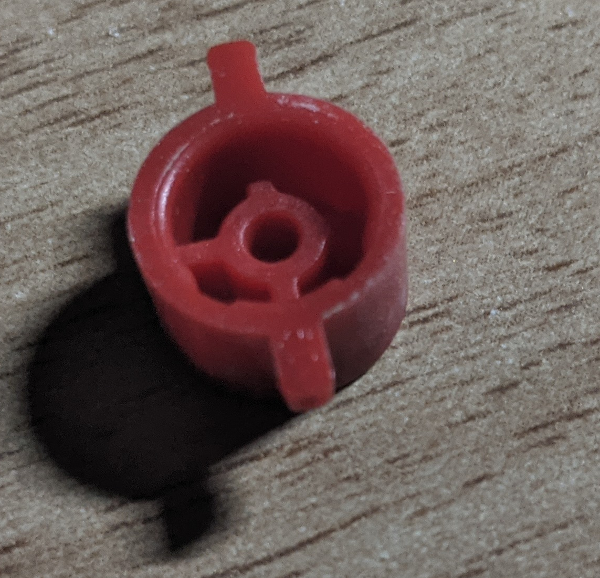
D-Pad Button
Front
Rear
Old/New Pad Comparison
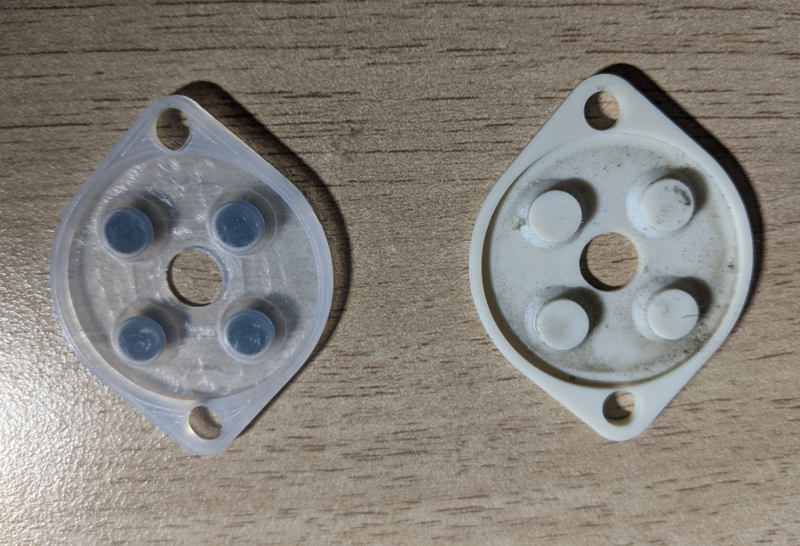
A & B Buttons
Old/New Pad Comparison
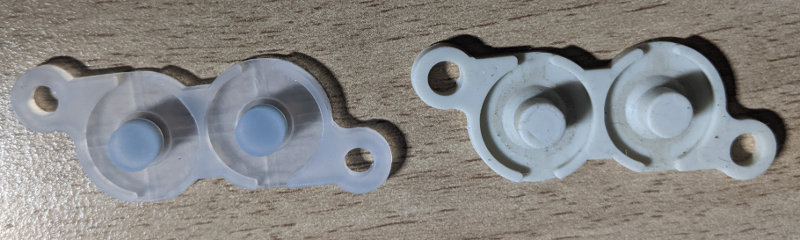
Start & Select Buttons/Pads